Restoring Helios 40 – 85mm f/1.5 – CLA tutorial by Tomas Glavina
49. At this stage we have basically finish. Last that needs to be done is putting the couple together (focusing and optical block). Every marriage, however, needs a ring, in this case don’t forget the big one.
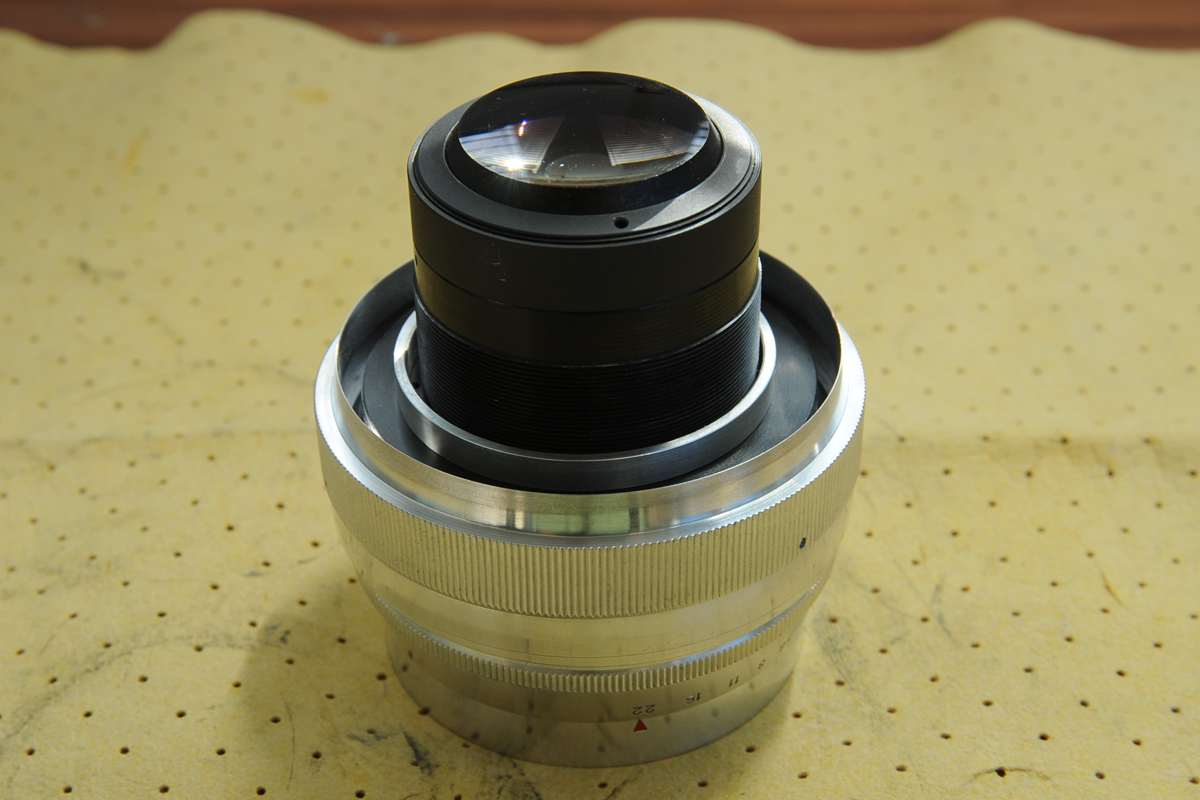
50. Screw both blocks together to complete CLA. If you want, put back the tripod mount. Personally, I use the lens handheld so I leave it without it: You can cover the holes with a bit of electric tape if you like.
Appendix:
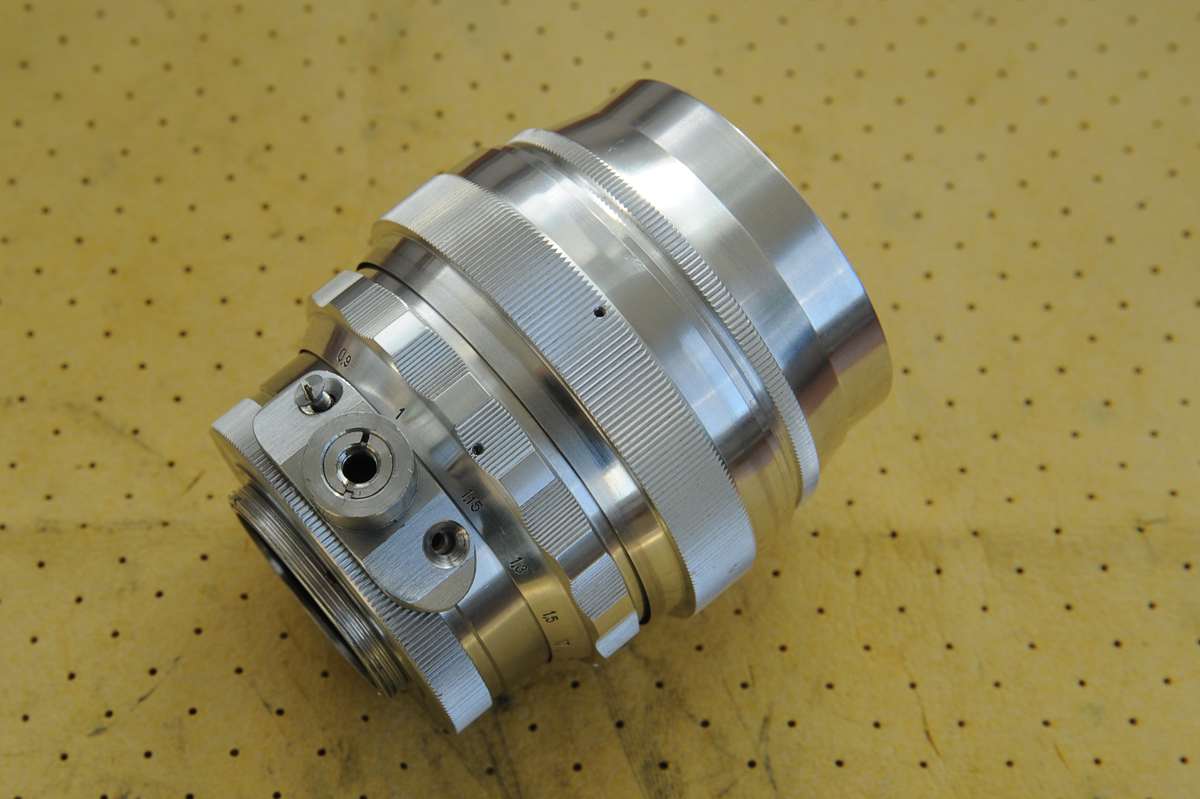
As noticed at the beginning of this tutorial, there is at least one more version of this particular lens, differing in the tripod mount collar.

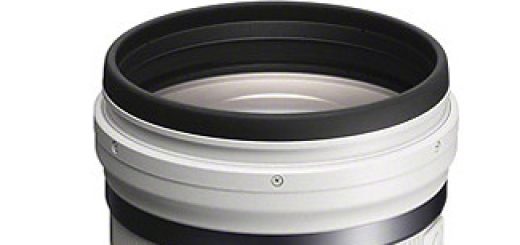
It is very easy to remove it, the only thing that you have to be careful is not to damage the screw heads on the back ring There are three screws.
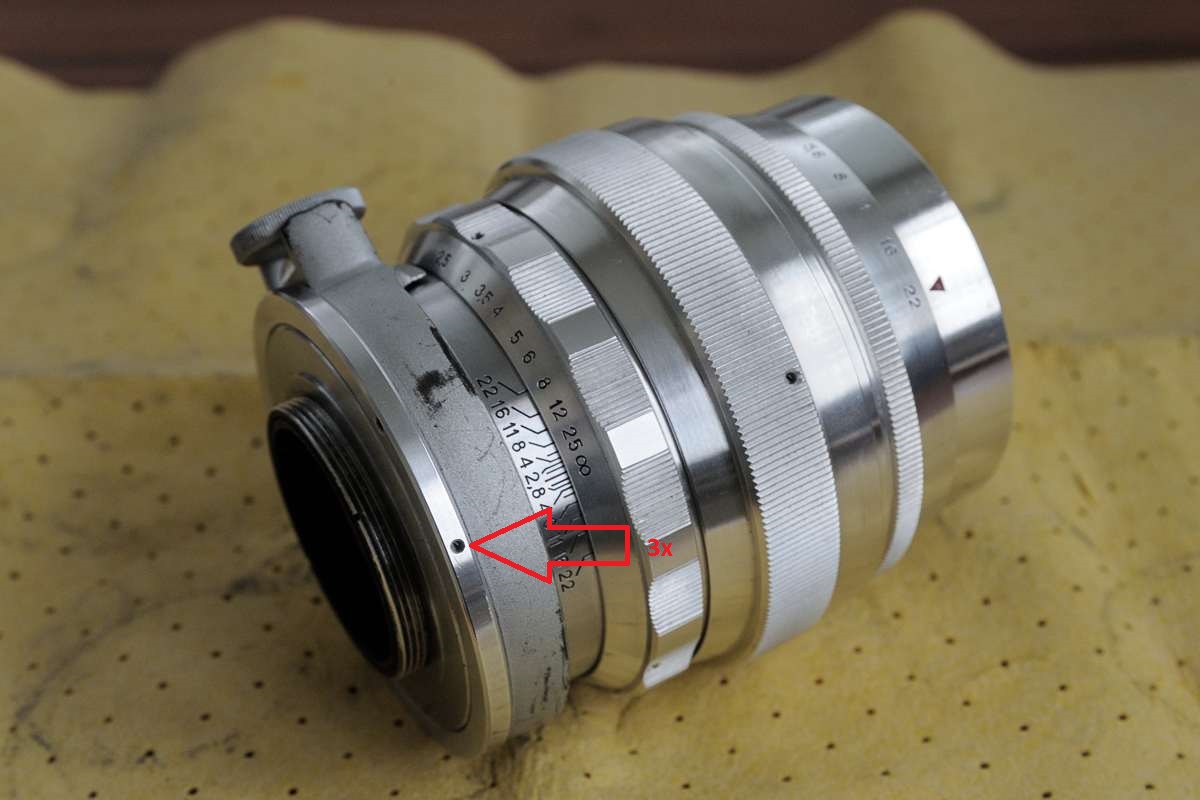
Untighten them, but leave them inside.
Unscrew the shiny ring once the three screws are untighten. Once removed, make sure that the lock breaker of the tripod ring is released (untightened).
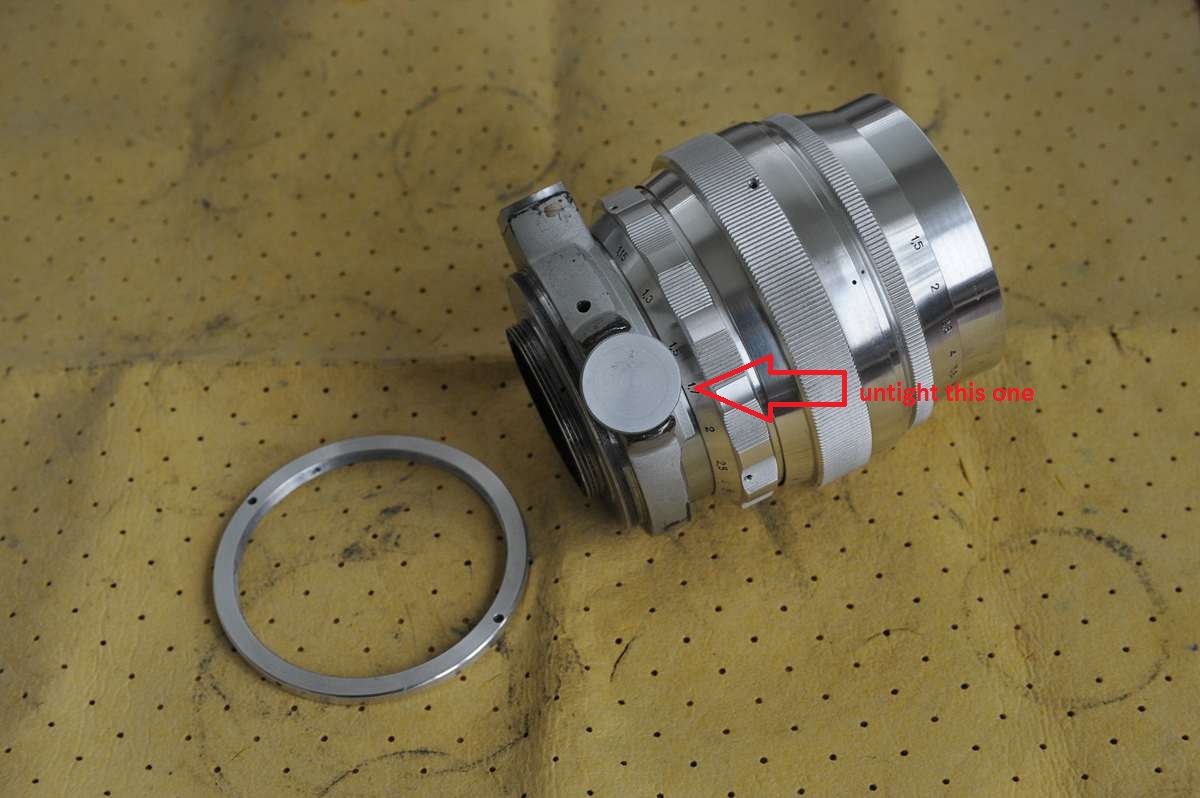
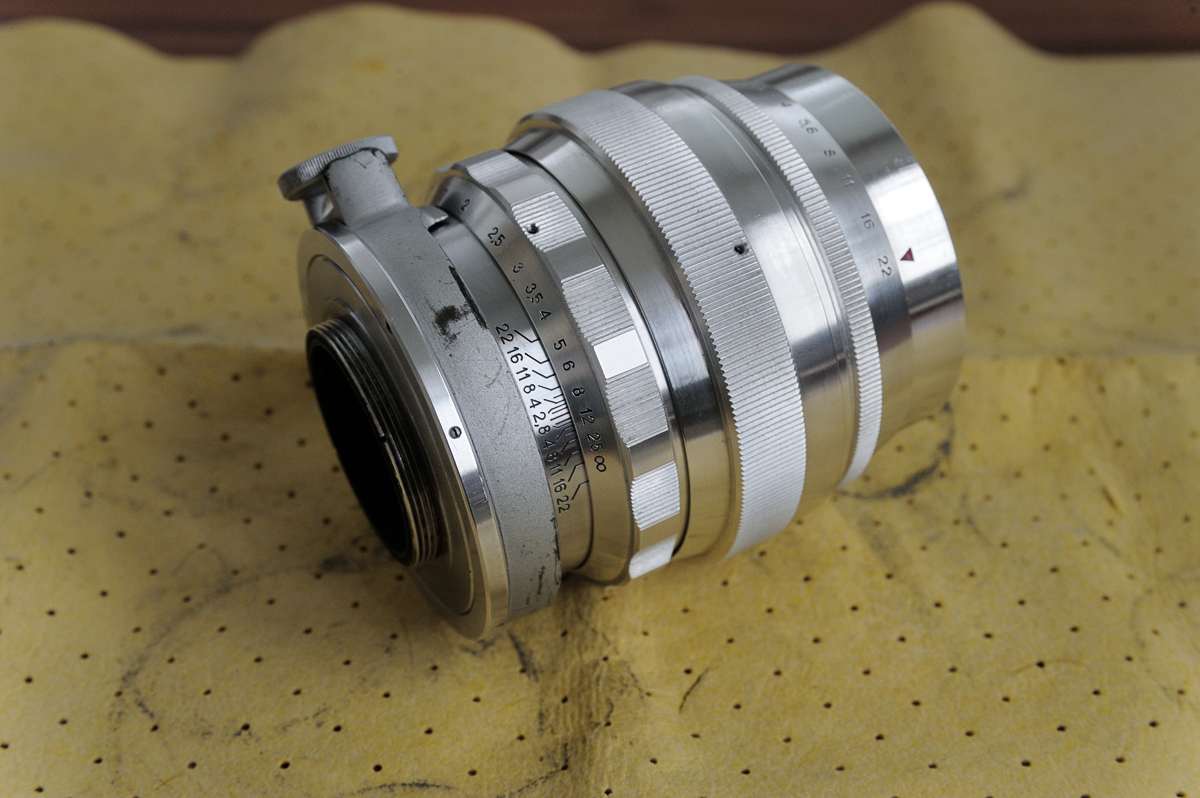
Gently pull back the tripod collar.

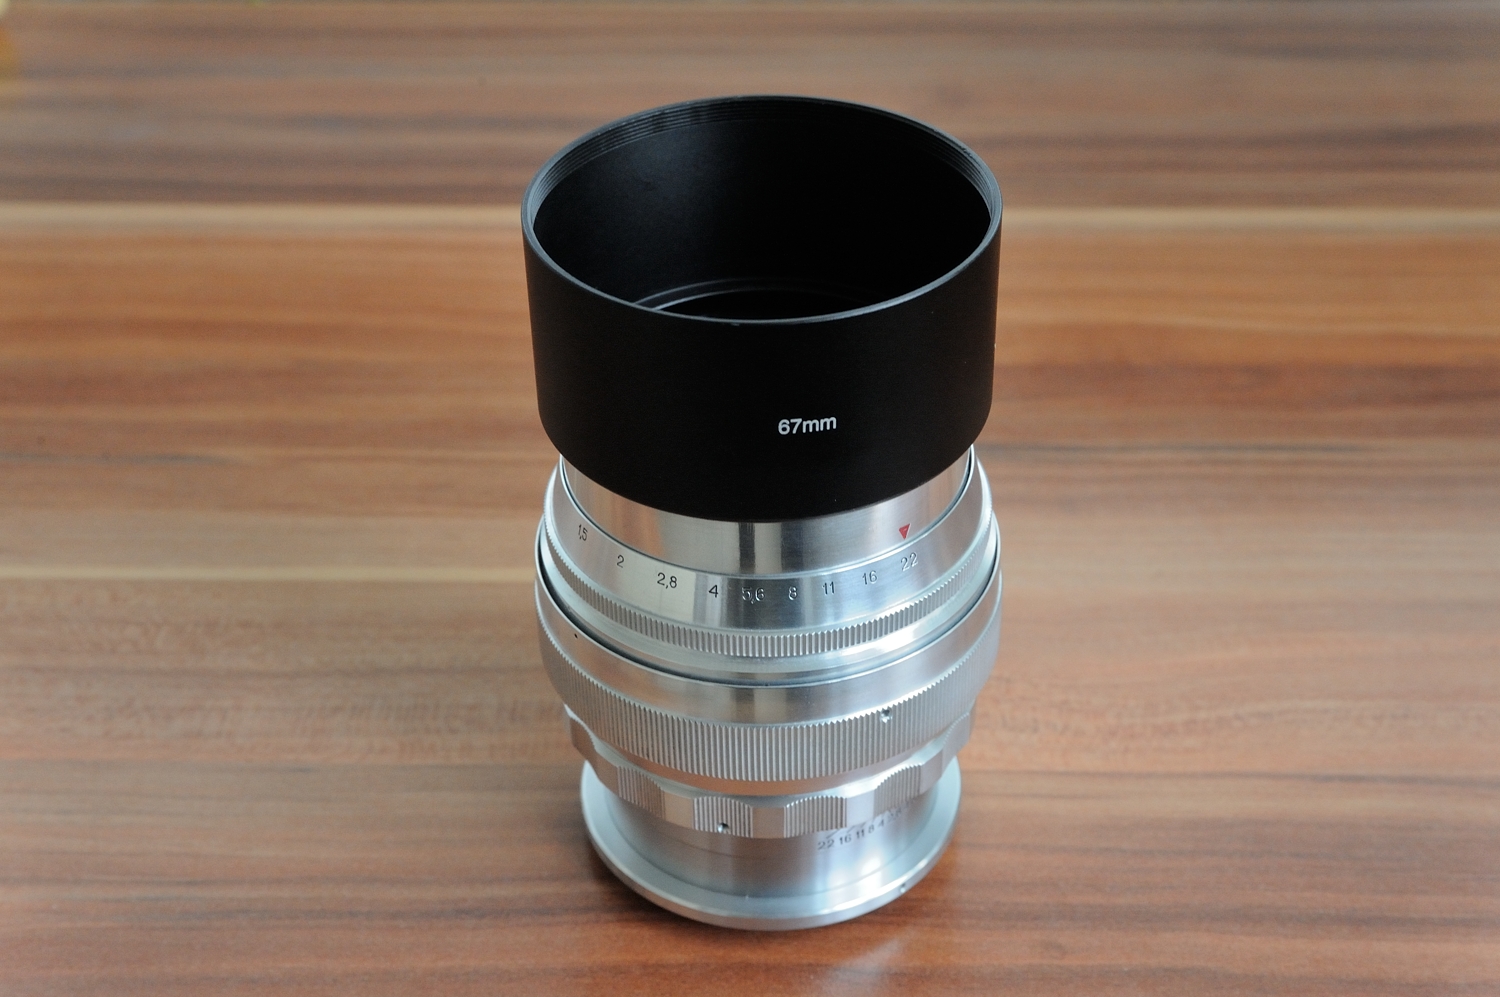
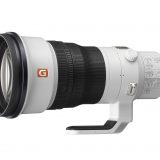
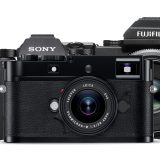
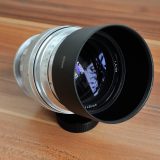
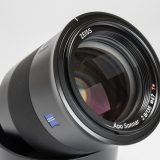
Here is another tip: I am using a metal hood on this lens which is 67 mm in diameter. This Helios has a 66 mm filter thread, so i shaved off the thread on the lens hood a little and now Ii can fit it on. It stays securely enough in place for normal shooting. I got one for tele lenses so it’s deep, but since this lens flares badly, it really helps and there is no mechanical vignette that i can see. A hood for a standard lens will be shallower. You can get them cheap on eBay e.g.

If you have any questions, you can use forum link – Helios 40 tutorial by Tomas or leave the comment below.
To help this page survive, your donation will be highly appreciated.


Hi Víktor,
First of all thanks so much for this CLA tutorial.
I’ve just bought one and everything went perfect.
The lens had a minor detail i’ve noticed when i made the purchase and after the CLA it’s exactly the exactly same problem remains.
When i tight the lower and upper part of the lens in the final procedure of the CLA, the red marking on the aperture preset selector won’t match the center marking on my focusing markings. It always stays a 1/4 turn to the left out of place. I think that the the ring of shim has been changed in the past by someone and i wont get it aligned when joining both parts of the lens in the end. Anyway, i’ve mande my measurements and focusing measure is spot on, really spot on.
Would you be able to tell me the size (height of ring) so i can compare to the one i have? Maybe i have a wrong one and need to get one with the right size, maybe fabricating one myself.
Your help ia much appreciated! Million thanks from Portugal.
samufs
yd9ey8
51jr6b
iuavjn
rmyib8
o5vyrm
w78mgk
uyeko0
pyyajj
g7i45e
u4z0e4
sun69l
cxflb0
1cfsi7
lajyh6
hg55ir
kqsxw7
a1wijx
yg0hm9
4wjw4q
whrdq5
m7rqe7
swm8f6
01hqgt
lveyex
wrvqdd
z8w34r
s5uw8k
9cf6sx
4jah91
m6vb40
wzczst
bygudk
7d6lyo
q5xbtt
imzbrv
4cjwmn
5myqh2
00u6j5
wphuih
ezcpo6
utyv9n
8m9rkd
zzxghl
tmsd3l
rq4oa5
8km88s
gnihxr
57nfid
smhrsi
1cwuqk
1vzi0k
qayigl
cswg1c
799y7s
o7nxfd
f7end1
2d8zp5
an16mw
f2hho9
ymybj7
1i8dpm
9cqntf
modfn8
xjjbzk
e61gti
u0x2v8
qrc948
yvglje
vu6j5x
alxil2
x6tpm9
28ovql
blfm74
olwo4d
mvqwd6
jsrvhn
6sksgb
fwl82q
84qk1c
h6hcx9
zt9xgu
oeia1h
ocs7be
4vcuik
dksa31
rfebq8
jtrofo
x20ntn
wlfmbi
hwbsqf
5tv318
gklcze